GnuCash Mobile to Desktop Walkthrough
Posted: | More posts about gnucash
As shown in my last GnuCash post, I wrote a small helper script to ease expense tracking with GnuCash mobile. This post should provide a step by step example of how the daily workflow would look like.
First I installed GnuCash mobile on the Android phone via Google Play Store.
On the other end I already have a running GnuCash on Linux (I'm using Ubuntu, so it's sudo apt-get install gnucash).
Accounts and transactions are already configured and used in GnuCash desktop.
For GnuCash mobile I could either import my desktop account tree or create them separately. In the end I imported the complete account tree into the Android app and deleted a lot of accounts. Most accounts simply make no sense to have on the phone (e.g. mortgage liabilities). I only kept the accounts interesting for mobile usage and removed intermediate "folder" accounts:
Cash in Wallet
-
Expenses
Auto
Dining
Groceries
...
-
Income
Gifts
...
Money owed to me
Private Liabilities
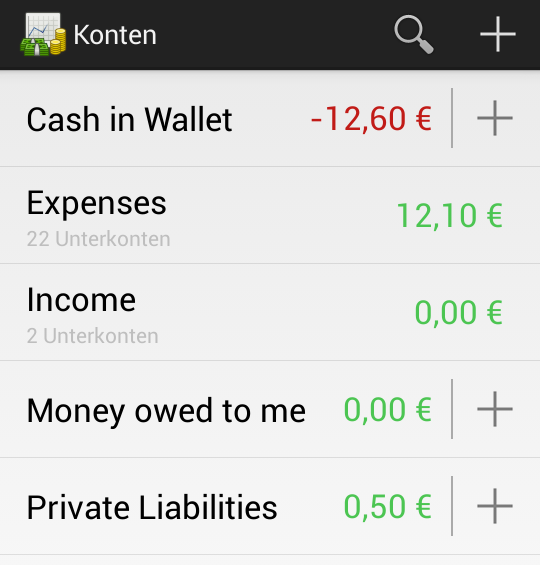
My top-level mobile accounts look like the following:
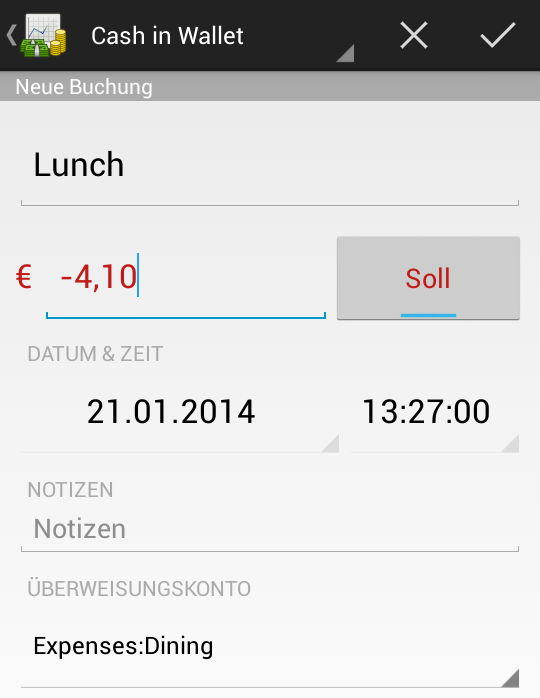
Now I can start tracking expenses. To record a new transaction I click on the small plus symbol next to my "Cash in Wallet" account. Going out for lunch looks like this:
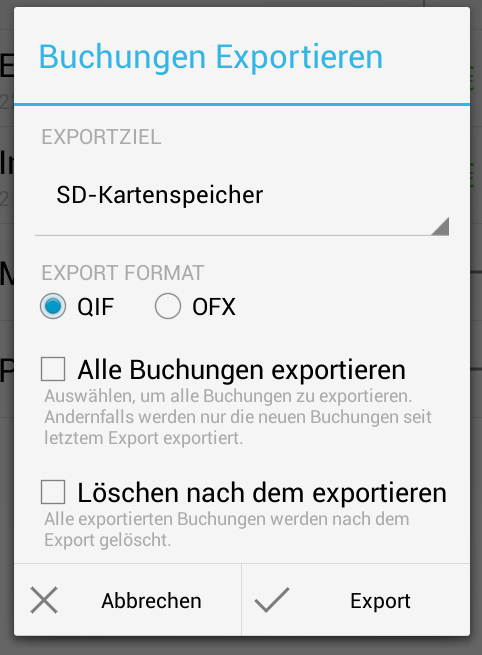
So how do I get these transactions back into GnuCash desktop? First of all I can export all (new) transactions from GnuCash mobile to QIF files on the phone's flash disk. For this I have to click the menu button and select "Export transactions...":
Sadly importing these files would usually require copying them to my desktop computer and importing them from GnuCash's main menu. To automate this (a bit) I wrote a small Python script (see my last blog post). After connecting my phone via USB I just have to run it:
The above command will scan for QIF files on the phone's flash disk, download new ones and import them into my main GnuCash file my-accounts.gnucash.
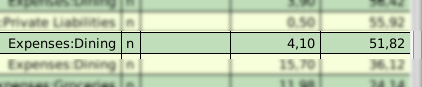
Eventually I can open GnuCash desktop to check that the transaction was correctly imported:
Apart from actually tracking the expenses, this workflow still requires some manual steps:
Clicking on "Export transactions..." on the Android phone
Connecting the device via USB
Triggering the script run
Maybe some day I will fix the first item to happen automatically (i.e. patch Android app). The second item is fine with me as I have to charge the phone anyway.
The third item could also be fixed by some udev rule triggering the import.py script.